
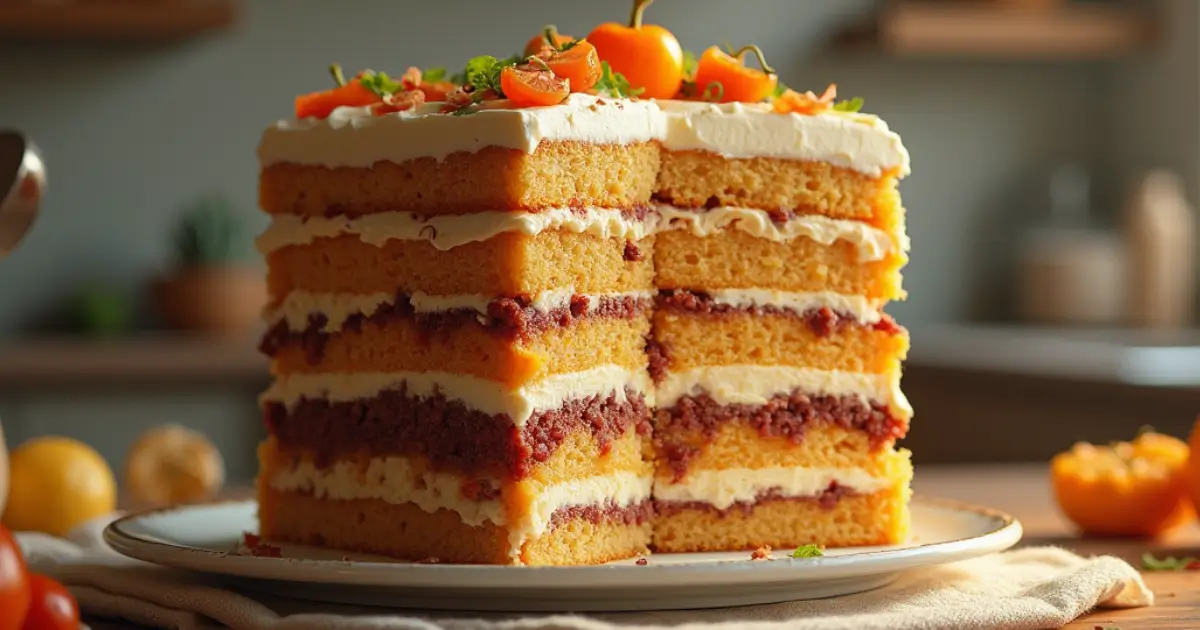
Hello, fellow food enthusiasts! I’m Chef Sophie LeClair, and today, I’m excited to share a recipe that brings the artistry of layered baking to a whole new level. Have you ever wondered how professional bakers achieve that perfect balance in their creations? Whether you’re crafting a stunning tiered cake or a savory layered dish, the secret often lies in a technique known as baker scaffold recipe.
This method ensures your layers remain perfectly balanced, stable, and visually captivating. It’s perfect for everything from sweet treats to savory delights like smoked baked beans layered with rich flavors. Imagine adding a unique twist with Boston baked beans candy yes, it’s that versatile! As we explore 10 ways to achieve perfect balance with the baker scaffold recipe technique, I’ll guide you through each step, offering tips, variations, and suggestions to help you master the craft.
Table of Contents
Key Benefits of Using the Baker Scaffold Recipe Technique
When it comes to creating perfectly balanced layers, whether in a decadent cake or a savory dish, the baker scaffold recipe technique is a game-changer. This method ensures structural integrity, enhances presentation, and allows for seamless layering of flavors and textures. Let’s explore why this technique is essential and how it can elevate your baking.
1. Achieves Perfect Layer Stability
- Prevents layers from collapsing or shifting.
- Ensures even weight distribution for a professional finish.
- Ideal for tiered cakes, stacked pastries, and layered casseroles.
2. Enhances Flavor Fusion
- Each layer has time to blend flavors, resulting in a well-balanced dish.
- Works beautifully with both sweet and savory creations.
- Try layering smoked baked beans with slow-cooked meats for a rich, smoky depth.
3. Versatile for Sweet and Savory Dishes
| Dish Type | Best Use of Baker Scaffold Technique |
| Cakes & Pastries | Prevents collapsing, keeps layers intact |
| Casseroles & Pies | Maintains structure, evenly distributes fillings |
| Savory Bakes | Supports ingredients like Boston baked beans candy for texture contrast |
4. Saves Time and Effort
- Minimizes the risk of baking disasters.
- Creates a sturdy base, so you don’t have to redo layers.
- Speeds up assembly, making even complex recipes more manageable.
5. Elevates Presentation
- Ensures layers look clean, precise, and uniform.
- Adds a professional touch to homemade baked goods.
- Whether you’re making a layered cake or stacking smoky baked beans in a dish, the results are visually stunning.
By mastering the baker scaffold recipe technique, you can create show-stopping dishes that are as balanced in structure as they are in flavor. Ready to put this into practice? Let’s dive into the ingredients you’ll need.
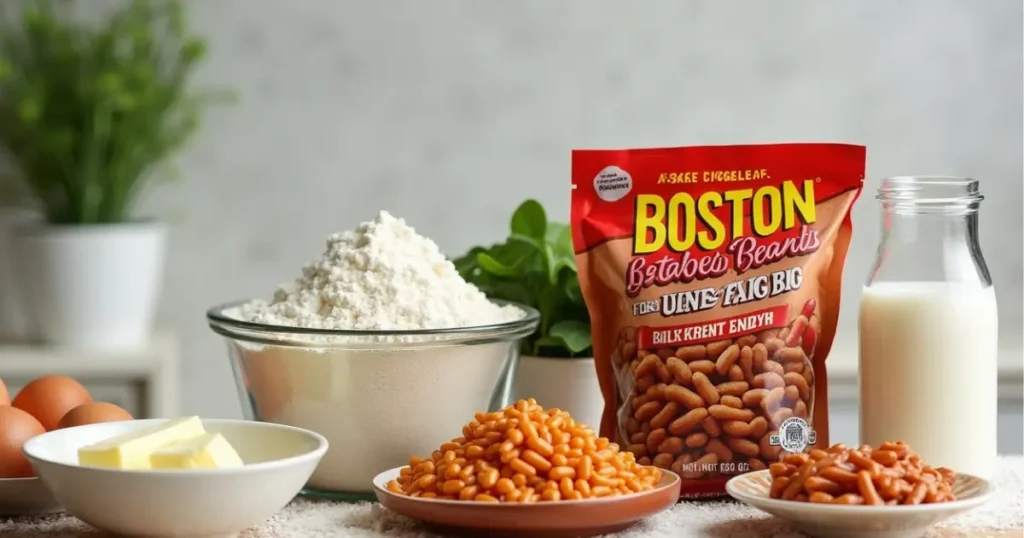
Ingredients for Perfectly Balanced Baker Scaffold Recipe
Now that you understand the benefits of the baker scaffold recipe technique, let’s gather everything you need to create perfectly structured layers. Whether you’re making a decadent cake or a hearty layered bake, selecting the right ingredients ensures stability, balance, and incredible flavor.
Essential Ingredients for Layer Stability
| Ingredient | Purpose in Layering |
| All-Purpose Flour | Provides structure and support |
| Eggs | Acts as a binding agent |
| Butter or Oil | Adds moisture and richness |
| Baking Powder/Soda | Ensures even rise and aeration |
| Granulated Sugar | Balances flavors and texture |
| Milk or Buttermilk | Improves tenderness and consistency |
Flavorful Additions for a Unique Twist
- Smoked Baked Beans – A savory, smoky depth that enhances both sweet and savory bakes.
- Boston Baked Beans Candy – Adds a delightful crunch and unexpected texture to layered desserts.
- Vanilla Extract & Spices – Elevates flavor complexity and aroma.
- Nuts & Seeds – Provides contrast and structure for added crunch.
Ingredient Substitutions for Dietary Preferences
| Alternative | Best for |
| Almond Flour | Gluten-Free Baking |
| Coconut Sugar | Lower-Glycemic Sweetener |
| Plant-Based Milk | Dairy-Free Option |
Each ingredient plays a crucial role in ensuring your layers hold together beautifully while delivering incredible taste. Now that we have everything ready, let’s move on to crafting perfectly balanced layers using the baker scaffold recipe technique.
Step-by-Step Instructions for Perfect Baker Scaffold Recipe
Now that we have the ingredients ready, it’s time to build beautifully structured layers using the baker scaffold recipe technique. Follow these detailed steps to achieve a flawless balance in your baked creations.
1. Prepare Your Baking Equipment
Before starting, gather the essential tools to ensure precision and stability.
| Tool | Purpose |
| Cake Pans or Baking Dish | Provides shape and structure for layering |
| Offset Spatula | Helps spread batter or filling evenly |
| Parchment Paper | Prevents sticking and ensures clean layers |
| Bench Scraper | Smooths edges for a professional finish |
| Cooling Racks | Allows layers to set properly before assembly |
2. Mix the Batter or Filling
- In a large bowl, whisk flour, baking powder, and salt to ensure even distribution.
- In a separate bowl, beat butter and sugar until light and fluffy, then add eggs one at a time.
- Slowly incorporate milk and dry ingredients, mixing until just combined to avoid overworking the batter.
- For a savory bake, layer in smoked baked beans for added depth of flavor.
3. Layer and Scaffold for Stability
- Pour a thin, even layer of batter or filling into the prepared pan.
- Use a spatula to spread the mixture evenly, preventing air pockets.
- If incorporating Boston baked beans candy, sprinkle between layers for a crunchy contrast.
- Continue layering, ensuring each section is level before adding the next.
4. Bake with Precision
| Step | Time & Temperature |
| Preheat Oven | 350°F (175°C) |
| Bake Layers | 25-30 minutes |
| Check Doneness | Insert a toothpick—if it comes out clean, it’s ready! |
| Cool Completely | At least 30 minutes before assembling |
5. Assemble Like a Pro
- Once cooled, trim the tops of each layer for a smooth stack.
- Apply a thin layer of frosting or filling between each tier to reinforce structure.
- If making a savory bake, arrange layers with fillings like smoked baked beans for balance.
- Finish with decorative elements or a final dusting of sugar for presentation.
By following these steps, you’ll master the baker scaffold recipe technique, creating stunning, well-balanced layers in every bake. Ready to take it to the next level? Let’s explore expert tips and variations to elevate your creation even further.
Pro Tips and Variations for a Perfect Baker Scaffold Recipe
Mastering the baker scaffold recipe technique is all about precision, creativity, and a touch of expertise. Whether you’re aiming for a perfectly structured cake or a layered savory dish, these professional tips and exciting variations will elevate your baking game.
Expert Tips for a Flawless Baker Scaffold
- Keep Your Layers Level
- Use a turntable and an offset spatula to evenly distribute batter or filling.
- Tap the baking pan on the counter before baking to remove air bubbles.
- Reinforce Structure for Tall Bakes
- Insert cake dowels for tiered cakes or layered casseroles.
- Use a Baker Scaffold technique by alternating firm and soft layers for stability.
- Maintain Moisture and Freshness
- Brush cake layers with simple syrup before assembling to lock in moisture.
- For savory bakes, drizzle a small amount of broth or sauce between layers.
- Optimize Baking Time
- Thin layers: Bake for a shorter time at a slightly higher temperature.
- Thicker layers: Bake at a lower temperature to ensure even cooking.
- Let Layers Cool Before Assembling
- Hot layers can cause fillings to melt and slip, ruining the scaffold structure.
- Place layers in the fridge for at least 30 minutes before stacking.
Creative Variations to Try
| Variation Type | How to Incorporate |
| Sweet & Savory Fusion | Layer with smoked baked beans for a unique, smoky twist. |
| Crunchy Surprise | Add Boston baked beans candy between layers for caramelized texture. |
| Chocolate Indulgence | Infuse cocoa into the batter for a rich, decadent flavor. |
| Nutty Texture | Sprinkle chopped almonds or pecans between layers for crunch. |
| Fruit-Infused Layers | Spread a layer of fruit puree or jam for a natural sweetness. |
By implementing these pro tips and variations, you’ll master the baker scaffold recipe technique, ensuring perfect balance, flavor, and texture every time. Now, let’s move on to serving suggestions to present your masterpiece in the most appealing way.
Serving Suggestions for Your Perfect Baker Scaffold Recipe
Now that your baker scaffold recipe creation is assembled and ready to shine, it’s time to think about how to serve and present it. Whether you’re crafting a show-stopping cake or a savory layered dish, the presentation is just as important as the flavor. Here are some serving suggestions to elevate your dish, impress your guests, and bring out the best in every layer.
Sweet Baker Scaffold Presentation Ideas
- Dust with Powdered Sugar or Cocoa Powder
- For a simple yet elegant touch, dust the top of your layered cake with powdered sugar or sift cocoa powder for a subtle finish.
- This creates a visually appealing contrast and adds an extra layer of flavor.
- Top with Fresh Fruits or Berries
- Add a burst of color and freshness by topping with seasonal fruits, like strawberries, raspberries, or blueberries.
- A fruit-infused layer works great here, tying the flavor together beautifully.
- Layer with Frosting or Glaze
- Whether you go for a classic buttercream, a rich ganache, or a tangy glaze, finish your cake with a smooth, glossy layer of frosting.
- For a rustic look, spread frosting in a slightly uneven, textured style.
- Add Crumbled or Candied Toppings
- Sprinkle Boston baked beans candy or crushed smoked baked beans on top for a unique texture contrast and unexpected flavor.
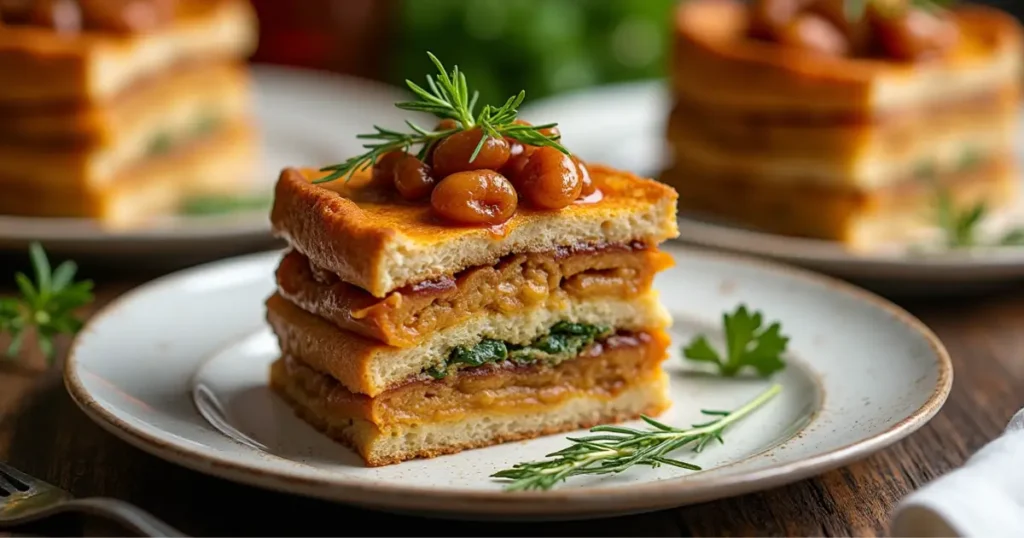
Savory Baker Scaffold Presentation Ideas
- Garnish with Fresh Herbs
- For savory dishes, fresh herbs like parsley, rosemary, or basil add a pop of color and a fragrant aroma that complements the flavors of your layers.
- Place the herbs artfully on top or sprinkle them between layers for a burst of freshness.
- Serve with a Side Sauce or Dip
- Pair your dish with a complementary sauce, such as a tangy BBQ sauce, a rich gravy, or a refreshing salsa.
- A smoked baked beans sauce can add a bold, smoky flavor to savory bakes.
- Arrange on a Platter for Layered Impact
- Present your layered creation on a rustic wooden platter or a stylish cake stand to elevate the visual appeal.
- For large, savory bakes, slice into clean, even portions and serve individually for a more refined presentation.
- Serve with a Side of Greens
- Balance out the richness of your layered creation with a side salad of mixed greens or sautéed vegetables.
- Adding something light and fresh helps cut through the richness of the layers and provides a balanced meal.
By considering these serving suggestions, your baker scaffold recipe creation will not only taste incredible but look stunning on the table. Whether it’s a dessert or a savory masterpiece, the right presentation can make all the difference. Ready to complete the experience with a satisfying conclusion? Let’s dive into the final touches.
Conclusion: Your Perfect Baker Scaffold Awaits
Congratulations! You’ve successfully mastered the Baker Scaffold technique and created a beautifully layered dish that’s as delicious as it is visually stunning. Whether you’ve opted for a sweet treat or a savory masterpiece, this method ensures your layers are perfectly balanced, flavorful, and ready to impress your guests.
Key Takeaways for Perfect Recipe
- Precision and Balance: Ensuring each layer is even and well-structured is key to a successful Baker Scaffold.
- Chill Between Layers: Letting layers cool before stacking helps maintain the integrity of your creation.
- Endless Variations: The Baker Scaffold technique is incredibly versatile, allowing for endless creative twists. From adding smoked baked beans to using Boston baked beans candy for a sweet surprise, the possibilities are as exciting as they are delicious.
Why You’ll Love This Technique
The Baker Scaffold not only helps create visually appealing layers, but it also enhances the texture and flavor of your dish. Whether you’re crafting an elegant anniversary cake, a hearty layered casserole, or a smoky savory bake, this technique is the secret to perfecting your creations.
Take this technique, play with different flavors, and get creative. Don’t forget, the key to success is in the details balance, texture, and the careful use of ingredients like smoked baked beans or Boston baked beans candy.
Happy cooking, and I hope your Baker Scaffold creations continue to shine in your kitchen.
Frequently Asked Questions (FAQs) about Baker Scaffold
Whether you’re new to the Baker Scaffold technique or a seasoned pro, you might have some lingering questions. Below, I’ve answered some of the most common queries to help you master this versatile method and ensure your creations turn out perfectly every time.
1. Can I use the Baker Scaffold technique for savory dishes?
Absolutely, The Baker Scaffold isn’t just for desserts. It’s perfect for layered savory dishes too, such as casseroles, lasagnas, or layered sandwiches. You can even incorporate smoked baked beans between the layers for a delicious twist. The method helps to evenly distribute ingredients, ensuring each bite is just as flavorful as the last.
2. How do I keep the layers from falling apart when cutting?
To ensure your layers stay intact, it’s crucial to let your creation cool completely before cutting. This step helps the structure set, allowing for neat, even slices. You can also reinforce your layers with cake dowels for tall bakes or add a bit of gelatin to your filling for added firmness.
3. Can I make the layers ahead of time?
Yes! In fact, preparing layers ahead of time can make assembly easier. Simply bake and cool the layers, then wrap them tightly in plastic wrap and store them in the fridge for up to 2 days. You can even freeze them for longer storage. Just be sure to allow them to return to room temperature before assembling.
4. What’s the best way to prevent soggy layers?
To avoid soggy layers, be sure to add a light coating of syrup or broth between the layers this keeps them moist without making them too wet. You can also lightly toast bread layers for savory bakes or allow cakes to cool on a rack to avoid trapped moisture. For a savory scaffold, consider layering Boston baked beans candy in between for added texture and to help absorb moisture.
5. Can I customize the fillings between the layers?
Yes, one of the best things about the Baker Scaffold method is the ability to get creative with your fillings. You can use a variety of frostings, jams, whipped cream, or fruit for sweet bakes, and sauces, cheeses, or roasted vegetables for savory ones. Adding items like smoked baked beans will infuse your layers with rich, smoky flavor that enhances your entire dish.
6. How do I make my layers more colorful?
If you’re looking for vibrant layers, try incorporating colorful ingredients. For sweet bakes, you can mix in fruit purees like raspberry or mango for natural color. For savory dishes, roasted peppers, spinach, or even colorful bell peppers will give your layers a pop. A splash of color not only looks beautiful but also makes your dish even more appealing.
7. Can I use the Baker Scaffold for gluten-free or vegan recipes?
Yes, this technique is incredibly adaptable to gluten-free or vegan diets. You can easily swap out ingredients like flour and dairy with gluten-free or plant-based alternatives. For example, use a gluten-free flour blend for the cake layers or a dairy-free frosting for desserts. Baker Scaffold is versatile, and with the right ingredient swaps, everyone can enjoy your delicious creation.
By answering these common questions, I hope you feel even more confident in your ability to create Baker Scaffold masterpieces. Whether you’re layering sweet treats or savory sensations, this technique is the perfect way to add depth, texture, and flavor to any dish. Enjoy experimenting, and remember that creativity is your best friend in the kitchen.
Did You Our Recipe ?
I Like this recipe is the best