
Table of Contents
Is there anything more charming than a vintage heart cake? This timeless dessert combines the elegance of traditional baking with a touch of whimsy, making it the perfect centerpiece for celebrations like Valentine’s Day, anniversaries, or even a cozy tea party. As Chef Sophie LeClair, a world-class chef with years of experience in creating desserts that inspire, I’ve seen how a simple heart-shaped cake can bring joy and smiles to every table.
Whether you’re a seasoned baker or trying this for the first time, this recipe is designed to guide you through every step, from creating a fluffy sponge cake to adding those delightful buttercream frosting details. Along the way, I’ll share my favorite tips and tricks to ensure your cake is not just delicious but visually stunning.
So, are you ready to bake a dessert that’s as sweet as it is beautiful? Together, we’ll craft a vintage heart cake that’s bound to become your new favorite bake. Let’s get started.
Key Benefits
When it comes to baking a vintage heart cake, there’s so much more to love than just its stunning appearance. This dessert is a true celebration of nostalgia and creativity, blending classic flavors with a visually charming design. Here’s why this cake deserves a spot in your baking repertoire:
Why You’ll Love This Recipe
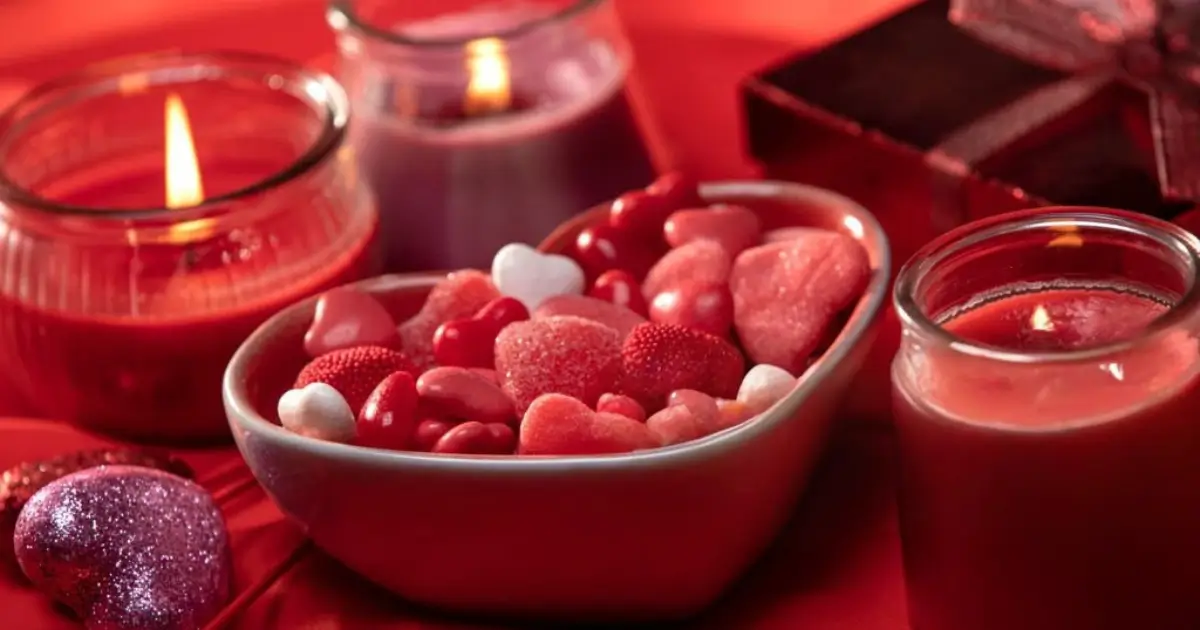
- Timeless Appeal: The heart shape adds a touch of romance, making it perfect for special occasions like Valentine’s Day or anniversaries.
- Customizable Flavors: From classic vanilla to rich chocolate or zesty lemon, this recipe allows you to tailor the taste to your preferences.
- Approachable for All Skill Levels: Whether you’re a baking novice or a seasoned pro, the step-by-step instructions make this recipe easy to follow.
- Show-Stopping Presentation: With its vintage-inspired design and charming details, this cake is guaranteed to impress guests.
- Perfect for Any Celebration: Ideal for everything from intimate dinners to grand celebrations, this cake is versatile and crowd-pleasing.
What Makes This Recipe Unique
Here’s a quick breakdown of the standout features:
| Feature | Why It’s Special |
| Heart-Shaped Design | Creates an eye-catching centerpiece that’s perfect for expressing love and affection. |
| Buttercream Frosting | Adds a smooth, creamy finish that pairs perfectly with the light sponge texture. |
| Custom Decorations | Allows you to get creative with edible pearls, flowers, or colored frosting accents. |
By choosing this vintage heart cake, you’re not just baking a dessert; you’re creating a memory that’s as delightful to make as it is to eat. Ready to bring a little love to your kitchen? Let’s explore the ingredients and instructions next.
Does this align with your expectations, Sophie?
Ingredients
The key to a flawless vintage heart cake starts with the right ingredients. Choosing high-quality, fresh components will elevate the flavor and texture, ensuring a perfect result every time. Let’s go over what you’ll need to make this cake truly special.
Ingredients for the Cake
| Ingredient | Measurement | Notes |
| All-purpose flour | 2 ½ cups (310g) | Sifted for a light, airy texture. |
| Baking powder | 2 ½ teaspoons | Ensures a well-risen, fluffy texture. |
| Unsalted butter | 1 cup (225g) | Softened to room temperature for easy creaming. |
| Granulated sugar | 2 cups (400g) | Gives the cake a lovely sweetness and helps create a tender crumb. |
| Eggs | 4 large | Room temperature helps the batter mix more smoothly. |
| Vanilla extract | 2 teaspoons | Adds a classic, comforting flavor. |
| Whole milk | 1 cup (240ml) | Moistens the cake and adds a smooth texture. |
| Red or pink food coloring | As needed | Optional, but it gives the cake a lovely, vintage-inspired hue. |
Ingredients for Buttercream Frosting
| Ingredient | Measurement | Notes |
| Unsalted butter | 1 cup (225g) | Softened for a smooth, creamy frosting. |
| Powdered sugar | 4 cups (500g) | Sifted to avoid lumps and achieve a smooth texture. |
| Heavy cream | 2–3 tablespoons | Adjust to get the frosting to your desired consistency. |
| Vanilla extract | 1 teaspoon | Adds a sweet, aromatic flavor to the frosting. |
| Food coloring | Optional | If you’re adding color to match your theme, choose a quality gel color. |
Tips for Choosing Quality Ingredients
- Freshness is Key: Check the expiry dates on your baking powder and eggs for the best rise and consistency.
- Use Room Temperature Ingredients: Ensure the butter and eggs are at room temperature to allow for better mixing and a smoother batter.
- Go for Pure Vanilla: For a rich, authentic flavor, opt for pure vanilla extract over imitation.
- Butter Matters: High-quality butter makes a huge difference in both flavor and texture, so choose a good one for your frosting and cake.
By using fresh, top-quality ingredients, you’re on your way to baking a vintage heart cake that will not only taste amazing but look just as beautiful. Once you’ve got everything ready, let’s dive into the step-by-step instructions.
Instructions
Creating a vintage heart cake is all about precision and a little bit of love in every step. Sophie LeClair, a world-class chef with years of experience, will guide you through this process, ensuring that every bite is perfect. Let’s get started.
Step 1: Prepare the Oven and Pan
Start by preheating your oven to 350°F (175°C). While the oven warms up, grease a heart-shaped cake pan with a little butter or non-stick spray. Then, lightly dust it with flour to help the cake come out perfectly after baking. This simple step ensures that your vintage heart cake will have a flawless finish.
Step 2: Cream the Butter and Sugar
In a large mixing bowl, combine 1 cup unsalted butter (softened) and 2 cups granulated sugar. Using an electric mixer, beat the mixture until it becomes light and fluffy about 3-4 minutes. This creates a wonderful base for your cake, contributing to its soft and airy texture.
Step 3: Add Wet Ingredients
Next, add 4 large eggs to the butter and sugar mixture, one at a time. Mix thoroughly after each addition. Then, stir in 1 tablespoon vanilla extract. This adds the perfect level of sweetness and depth to your cake, bringing it closer to that timeless dessert vibe.
Step 4: Prepare Dry Ingredients
In a separate bowl, sift together:
- 3 cups all-purpose flour
- 1 teaspoon baking powder
- 1/2 teaspoon baking soda
- 1/4 teaspoon salt
Sifting the dry ingredients helps create a smooth batter and ensures that everything is evenly distributed.
Step 5: Combine Wet and Dry Ingredients
Slowly add the dry ingredients to the wet mixture, alternating with 1 cup buttermilk. Start with a bit of dry mix, followed by buttermilk, and repeat until everything is combined. Be careful not to overmix the batter this keeps the texture light and moist.
Step 6: Bake the Cake
Once your batter is ready, pour it into the prepared heart-shaped pan. Bake for 30-35 minutes or until a toothpick inserted into the center comes out clean. Don’t forget to keep an eye on it towards the end of baking, as every oven is a bit different.
Step 7: Cool and Frost the Cake
Allow the cake to cool in the pan for 10 minutes, then transfer it to a wire rack to cool completely. While it’s cooling, prepare your buttercream frosting.
For the frosting, beat together:
- 1 cup unsalted butter (softened)
- 4 cups powdered sugar
- 2-3 tablespoons heavy cream
- 1 teaspoon vanilla extract
Continue beating until the frosting is smooth and fluffy. Once the cake is fully cooled, spread a thin layer of frosting as a crumb coat and refrigerate for 15 minutes. After that, apply a second layer of frosting for a smooth, beautiful finish.
Pro Tips for Perfecting Your Vintage Heart Cake
- Room temperature ingredients: Ensure your butter, eggs, and buttermilk are at room temperature for the best results. This helps everything blend seamlessly.
- Don’t overmix: Overmixing the batter can lead to a dense cake. Mix just until everything is combined to keep it light and fluffy.
- Buttercream texture: Adjust the consistency of your buttercream frosting with heavy cream for a smoother texture, or add more powdered sugar for a thicker consistency.
Quick Reference Ingredients Table
| Ingredient | Quantity |
| Unsalted butter | 1 cup (softened) |
| Granulated sugar | 2 cups |
| Large eggs | 4 |
| Vanilla extract | 1 tablespoon |
| All-purpose flour | 3 cups |
| Baking powder | 1 teaspoon |
| Baking soda | 1/2 teaspoon |
| Salt | 1/4 teaspoon |
| Buttermilk | 1 cup |
| Powdered sugar | 4 cups |
| Heavy cream | 2-3 tablespoons |
By following these easy steps, your vintage heart cake will be the star of any celebration. With Sophie LeClair’s expert guidance, you’ll be baking like a pro in no time
Pro Tips and Variations for Your Vintage Heart Cake
Now that you’ve mastered the basic vintage heart cake, let’s take it to the next level! Whether you want to get creative with flavor, texture, or decoration, this section is packed with expert tips and variations to help you craft a truly personalized cake.
1. Flavor Variations
While the classic vanilla vintage heart cake is always a crowd-pleaser, there are plenty of ways to make it your own with simple flavor twists. Here are a few ideas:
- Lemon: Add the zest of one lemon to the batter for a light, refreshing citrusy flavor. Pair it with a tangy lemon buttercream for a sophisticated touch.
- Chocolate: Swap out some of the flour for unsweetened cocoa powder to make a rich chocolate version. A creamy chocolate ganache would make the perfect frosting to complement this flavor.
- Almond: For a slightly nutty flavor, try adding a teaspoon of almond extract instead of vanilla. This is a subtle yet flavorful variation.
2. Textural Variations
Not only can you change the flavor, but you can also alter the texture to suit your preferences:
- Moist Cake: If you prefer a more moist cake, try adding a small amount of sour cream or buttermilk to the batter. This will create a tender crumb that melts in your mouth.
- Nuts for Crunch: For a bit of crunch, fold in chopped almonds, walnuts, or pecans into the batter. Not only will it add texture, but it’ll also enhance the flavor.
- Fruit Layers: Add fresh berries or even a layer of fruit preserves (like raspberry or strawberry) between the cake layers for a fruity surprise.
3. Decorating Ideas
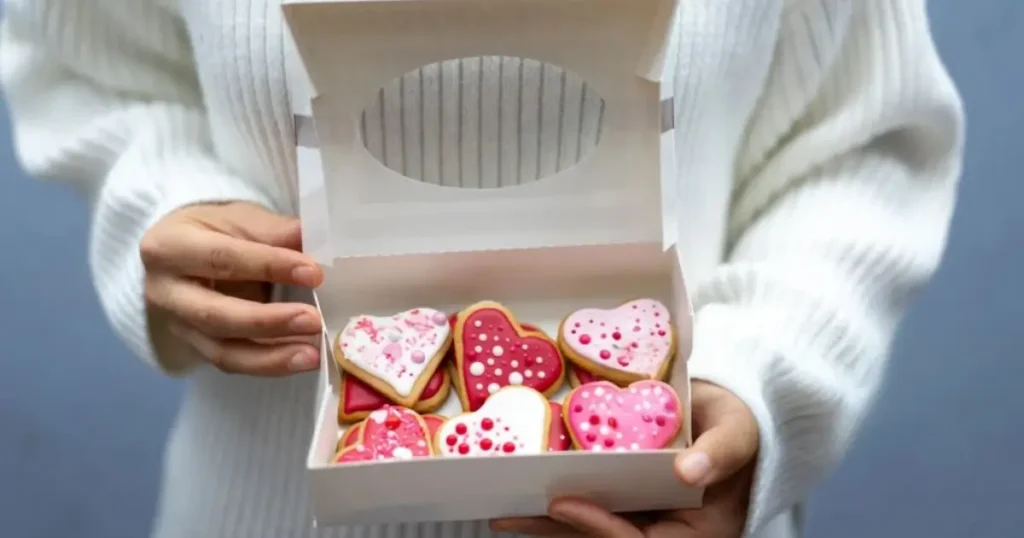
The beauty of a vintage heart cake is its versatility when it comes to decorating. Here are some fun, creative ideas to add that personal touch:
- Classic Buttercream Roses: Pipe beautiful, soft buttercream roses on top of your cake to give it a classic vintage feel. Use pastel shades like soft pink, lavender, or pale yellow.
- Edible Flowers: Decorate with edible flowers, such as violets or pansies, for an elegant, old-fashioned charm. Make sure to use organic flowers, free from pesticides.
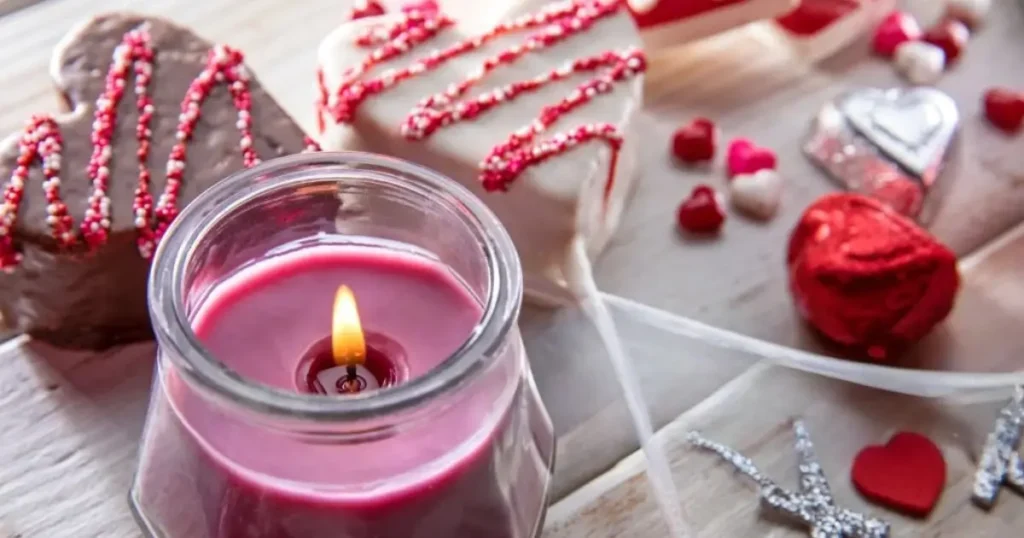
- Gold Leaf: For a touch of luxury, add a few delicate pieces of edible gold leaf on top. It’s an easy way to elevate the visual appeal of your cake without much effort.
4. Frosting Alternatives
While buttercream is the traditional frosting of choice, there are other frosting options that can give your vintage heart cake a different texture or flavor:
- Whipped Cream: For a lighter, fluffier option, swap the buttercream for freshly whipped cream. This is perfect if you want something less sweet.
- Cream Cheese Frosting: A tangy cream cheese frosting complements the sweetness of the cake. It’s especially great if you’re making a lemon or carrot version of this cake.
- Ganache: If you prefer a richer, glossy finish, drizzle a chocolate ganache over the cake. Ganache adds a decadent layer of chocolate that complements the soft cake texture.
5. Storage Tips
If you need to make the cake ahead of time, or have leftovers, here are some tips on storing it:
- Room Temperature: If you plan to serve the cake within a couple of days, store it in an airtight container at room temperature. The cake will stay fresh and soft for up to 3 days.
- Refrigeration: If you’re storing the cake for a longer period, refrigerate it. However, if you’ve used buttercream frosting, it’s best to let the cake come back to room temperature before serving for the smoothest texture.
- Freezing: You can also freeze the cake if you need to prepare it well in advance. Wrap the cake layers tightly in plastic wrap and then aluminum foil, and freeze for up to a month. Thaw in the fridge overnight before serving.
6. Personalized Touches
The best part about this vintage heart cake is how customizable it is. Here are a few ways to make it even more personal:
- Message on the Cake: If you’re making this cake for a special occasion, like a wedding anniversary or Valentine’s Day, add a sweet message like “Be Mine” or “Love Forever” in icing.
- Color Scheme: Tailor the frosting and decorations to fit any occasion. Whether it’s a pastel theme for a bridal shower or vibrant colors for a birthday, the options are endless.
By experimenting with these variations and tips, you’ll be able to create a vintage heart cake that’s truly one-of-a-kind. Have fun with the process and don’t be afraid to make it your own. Whether you go classic or get creative with flavors and decorations, you’ll have a stunning cake ready to impress any crowd.
Serving Suggestions for Your Vintage Heart Cake
Now that you’ve perfected your vintage heart cake, let’s talk about how to serve it to make an unforgettable impression. As a chef who knows the power of presentation and flavor, I can confidently tell you that these small touches can elevate your baking game. So, here are some delightful ways to serve your cake:
1. Classic Tea Time Delight
- Serve slices of the vintage heart cake with a hot cup of English Breakfast or Earl Grey tea. The rich flavors of the tea balance the sweetness of the cake beautifully.
- Add a small side of whipped cream or clotted cream to enhance the indulgence.
2. Decadent Dessert Pairing
- Pair your cake with a scoop of vanilla bean ice cream for an extra indulgent experience.
- For a seasonal twist, serve it alongside a dollop of spiced apple compote or roasted fruits like pears.
3. Elegant Buffet Style
- If you’re hosting a special occasion or celebration, slice the cake into smaller, bite-sized pieces. Arrange them on a beautiful platter with a dusting of powdered sugar and edible flowers for a charming touch.
- A drizzle of chocolate ganache or a light glaze can also elevate the visual appeal of the cake.
4. Fresh Fruit Topping
- Fresh berries like strawberries, raspberries, or blueberries can add a refreshing contrast to the sweet cake. They not only bring color but also provide a tartness that balances the richness of the dessert.
5. For a Personalized Touch
- If you’re celebrating a special event, like an anniversary or birthday, consider writing a personalized message on the cake using a simple buttercream icing or fondant.
- You can also add a sprinkle of gold dust for that extra glam look on a wedding or anniversary cake.
By focusing on these serving suggestions, you can create a multi-sensory experience that will impress your guests. The goal is to elevate your vintage heart cake from simply a dessert to an experience everyone will remember.
Conclusion
Now that you’ve learned all the steps and tips for creating the perfect Vintage Heart Cake, it’s time to enjoy the fruits of your labor. This cake isn’t just a treat; it’s an experience that will delight your taste buds and impress your guests. With its rich, tender layers and beautiful heart shape, it’s perfect for any special occasion or simply when you feel like indulging in a little extra sweetness.
Key Takeaways:
- Perfect Baking Tips: Make sure to keep a close eye on your oven’s temperature, as baking times can vary. Always perform the toothpick test to ensure it’s cooked through.
- Decorating Ideas: Add a touch of whimsy to your cake by using edible flowers or gold dust to elevate its vintage charm.
- Storage: Store leftovers in an airtight container at room temperature for up to 3 days, or refrigerate for up to a week to preserve its freshness.
This Vintage Heart Cake is incredibly versatile and can be customized to suit your unique tastes. You can experiment with different fillings, frostings, or even cake flavors to create something truly special. It’s all about making it your own and sharing the love with those around you.
Pro Tips for the Perfect Finish:
- If you’re aiming for a flawless heart shape, consider using a heart-shaped cake pan for ease and precision.
- Don’t forget that the heart-shaped cake is perfect for romantic occasions, such as anniversaries or Valentine’s Day.
- Feel free to add a bit of zest to the frosting by incorporating lemon or orange zest into the buttercream for a refreshing twist.
- With these tips in mind, you’ll be ready to bake like a pro and share this delightful creation with friends and family. Whether you’re an experienced baker or a beginner, this recipe is designed to bring out the best in you.
Enjoy the process, and remember, a perfect bake is just the beginning.
Frequently Asked Questions (FAQs)
1. Can I use a different cake flavor for the Vintage Heart Cake?
Absolutely. While this recipe is perfect for a classic vanilla or chocolate cake, feel free to experiment with other flavors. You can try using almond, red velvet, or even lemon cake for a unique twist that suits your taste.
2. Can I make the Vintage Heart Cake in advance?
Yes, you can prepare the cake layers a day ahead and store them in an airtight container. Just make sure they’re fully cooled before storing to prevent moisture buildup. Frost just before serving to keep the layers fresh.
3. How can I make this cake gluten-free?
For a gluten-free version, substitute the all-purpose flour with a gluten-free flour blend. Be sure to check the blend’s instructions, as you may need to adjust the liquid amounts or add binders like xanthan gum.
4. Can I use a different type of frosting?
Absolutely. While the recipe suggests buttercream, you can use cream cheese frosting for a tangy flavor, or even whipped cream for a lighter, fluffier texture. The choice is yours.
5. Can I decorate the cake with fresh fruit or flowers?
Yes. Fresh fruit or edible flowers make a beautiful, natural addition to the decoration. Just be sure to add them right before serving to maintain their freshness and avoid wilting.
6. How can I store leftovers?
Store leftover cake in an airtight container at room temperature for up to 3 days. If you want to keep it fresh for longer, you can refrigerate it, but remember to bring it back to room temperature before serving for the best texture.
7. Can I make this cake into cupcakes?
Definitely. You can bake the batter in a cupcake tin, reducing the baking time to about 18-20 minutes. Just be sure to check with a toothpick to ensure they’re fully baked. Then decorate as you would with the full-sized cake.8. I don’t have heart-shaped cake pans. Can I still make this?
If you don’t have heart-shaped pans, you can use round or square pans instead. Simply bake the layers as usual, then trim them into heart shapes using a template or freehand cutting.
Recipe Details:
- Prep Time: 20 minutes
- Cook Time: 30 minutes
- Total Time: 50 minutes
- Servings: 8 slices
- Calories: Approximately 350 per slice (varies depending on ingredients)
Nutrition Information (per serving):
- Calories: 350 kcal
- Fat: 18g
- Saturated Fat: 8g
- Cholesterol: 60mg
- Sodium: 120mg
- Carbs: 45g
- Fiber: 2g
- Sugars: 30g
- Protein: 4g
- Vitamin A: 6%
- Vitamin C: 2%
- Iron: 8%
- Calcium: 4%
Categorize the Recipe:
- Course: Dessert
- Cuisine: American (or appropriate region based on the style)
- Diet: Vegetarian, can be modified for Gluten-Free or Dairy-Free
- Method: Baking
- Keyword: Vintage Heart Cake, Cake Decorating, Heart-Shaped Cake
- Skill Level: Intermediate